
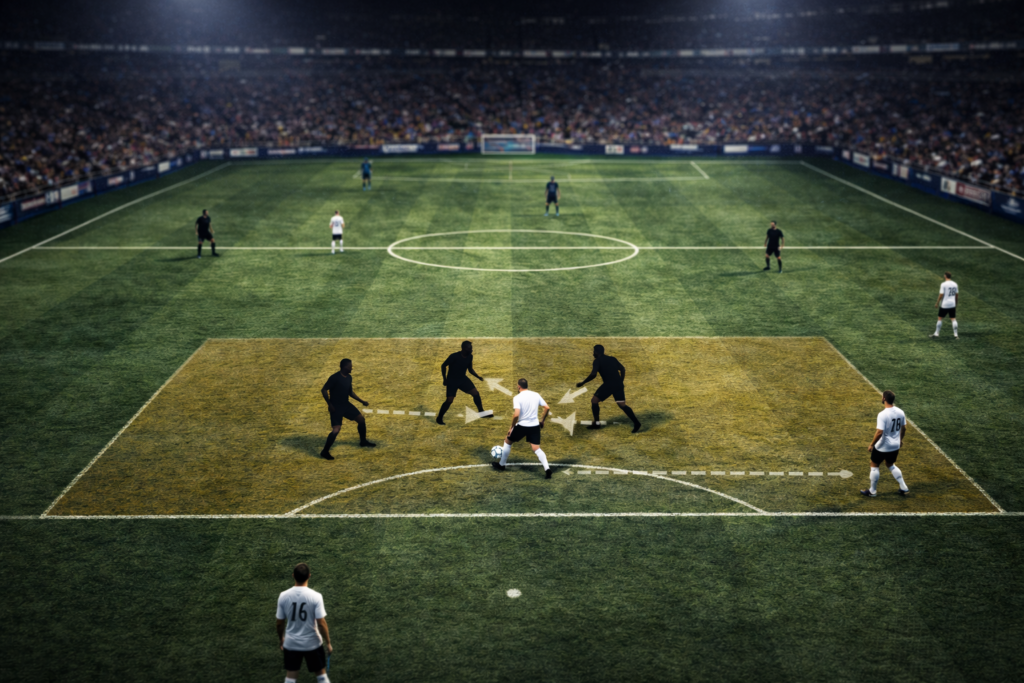
Counter-pressing is the moment a team attacks without the ball—immediately after losing it. The goal is simple: win possession back fast, before the opponent can lift their head, find outlets, and start a transition.
This guide breaks counter-pressing down into repeatable principles: what it is, why it works, when to trigger it, and how to train it without turning your shape into chaos.
If you’re building your fundamentals, start with the main hub: Football Tactics.
Table of Contents
What counter-pressing is (and isn’t)
Counter-pressing is a coordinated press in the first seconds after possession loss. It’s not “running at the ball” and it’s not a permanent high press (Learn about High Press in this guide). It’s a short, aggressive window where your team uses proximity, numbers, and angles to trap the opponent before they can escape.
Counter-pressing operates within the same laws that govern all defensive actions, particularly around challenges, pressing distance, and fouls, as defined in the official Laws of the Game by the International Football Association Board.
What it is
- A planned reaction to losing the ball.
- A way to protect your own attacking structure (you’re already close to the ball).
- A method to force predictable passes (usually backward or sideways).
What it isn’t
- A full-team sprint every time you lose possession.
- A substitute for rest defense (you still need cover behind).
- A press with no exit plan (if you don’t win it, you must recover shape).
The mindset shift: counter-pressing is less about effort and more about geometry—angles, cover shadows, blocked lanes, and compact spacing.
Enjoying the analysis?
Don’t Just Watch Football. Understand It.
Join KharaSportsDaily and receive occasional deep tactical insights most fans miss.
Occasional analysis. No match reports. No noise.
Why it works: time, space, and passing lanes
Counter-pressing works because the opponent is most vulnerable right after they win the ball. Their first touch is often messy. Their teammates are often facing the wrong way. And your players are already close because you were just attacking.
1) Time: the opponent hasn’t stabilized
The moment of ball recovery is chaotic. A counter-press tries to keep it chaotic long enough to regain possession—or force a clearance.
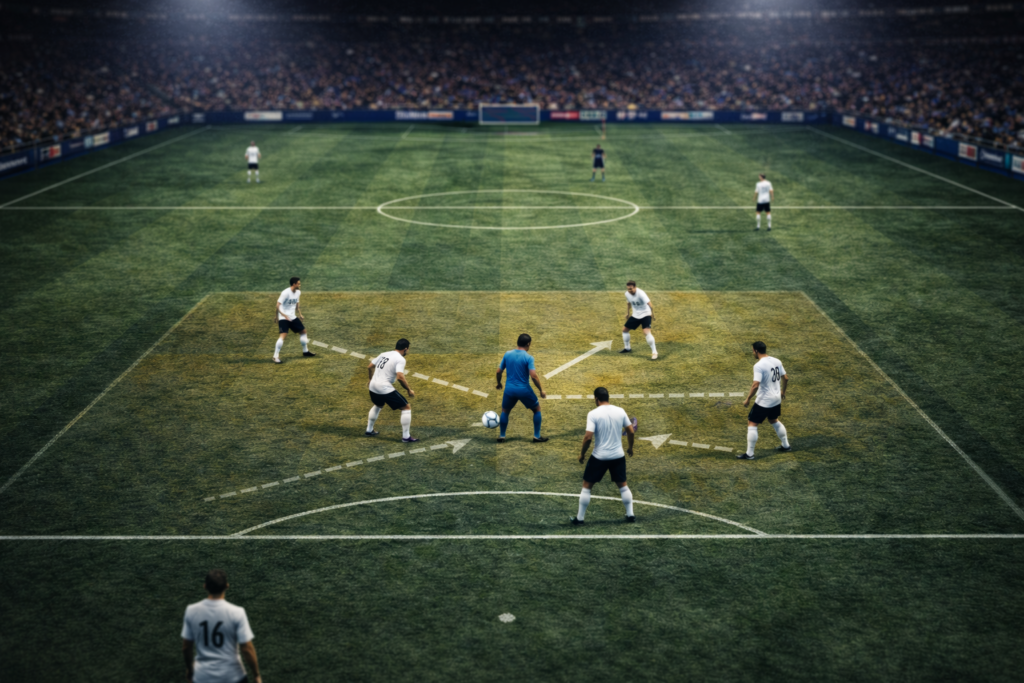
2) Space: you can shrink the field instantly
Your attacking shape naturally compresses players around the ball. If your nearest players step in together, the opponent’s “available pitch” collapses.
3) Passing lanes: you can lock the exits
The best counter-presses aren’t just pressure on the ball. They also remove the obvious outlets:
- block the inside pass
- discourage the forward pass
- force a pass into pressure (a “bad” pass you can intercept)
A useful rule: pressure + coverage beats pressure alone.
The 3 triggers that start a counter-press
Counter-pressing is strongest when it’s selective. Great teams don’t counter-press on every loss—they counter-press when the conditions are right.
Trigger 1: The opponent receives facing their own goal
If the ball winner is under pressure and can’t turn, their safest options are usually:
- a bounce pass back
- a sideways pass
- a rushed clearance
That’s your moment to trap.
Trigger 2: The opponent’s first touch is heavy or bouncing
A poor first touch buys you time. If two or three players converge, the opponent is forced into a low-quality decision.
Trigger 3: The ball is won in a congested zone
Turnovers near the ball-side half-space, central lane, or crowded wing are ideal because exits are limited.
When NOT to counter-press
Don’t force it if:
- your rest defense is stretched
- too many players are ahead of the ball with no cover
- the opponent has an obvious free outlet (a wide switch or direct runner)
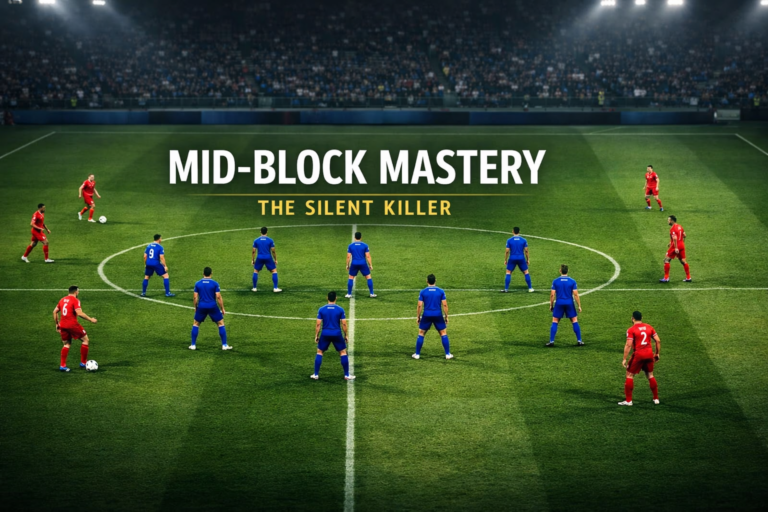
Counter-pressing must have a fail-safe: if you don’t win it quickly, you recover into your mid-block (learn about Mid-Block in this guide) or compact shape.
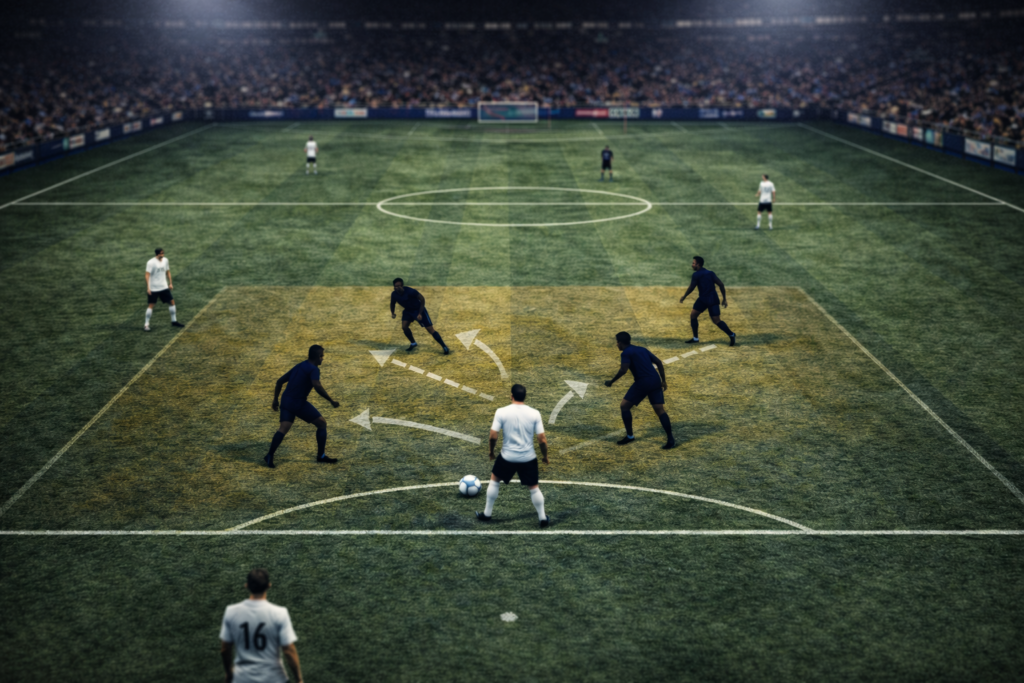
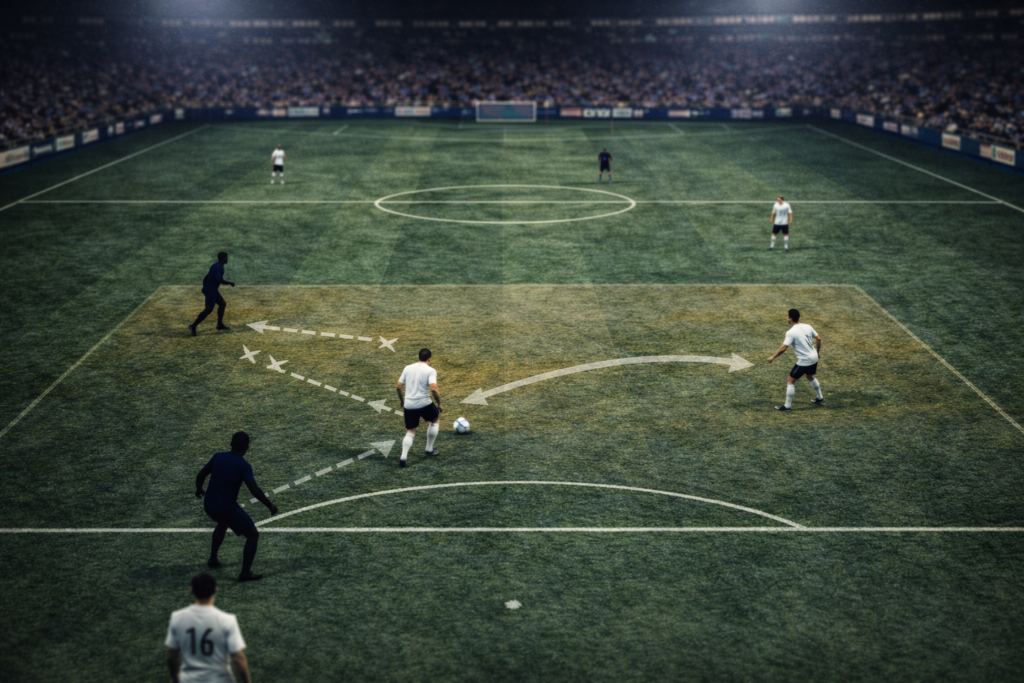
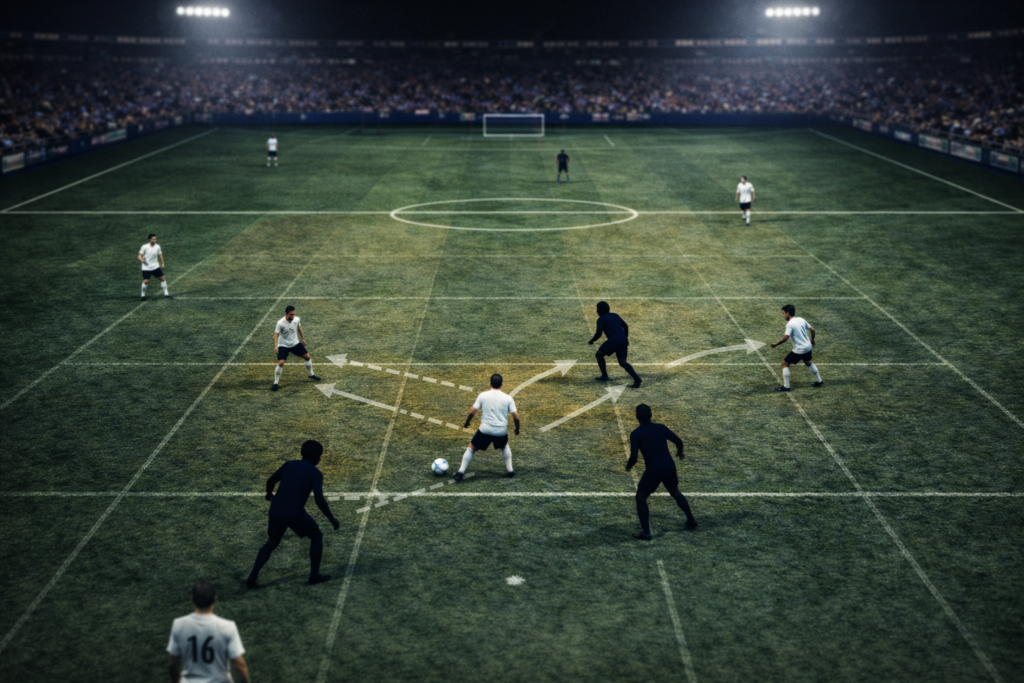
Roles & spacing: who hunts, who covers, who blocks
Counter-pressing is a team action with clear jobs. If everyone “hunts,” nobody covers. If everyone covers, nobody wins the ball.
The 3 key roles
1) The hunter (first presser)
- engages the ball carrier immediately
- forces a predictable direction (usually toward the touchline or backward)
- wins time for teammates to arrive
2) The helper (second presser)
- closes the nearest support option
- arrives on the angle that blocks the obvious escape
- is often the player who actually wins the ball
3) The blocker (lane control)
- doesn’t chase the ball
- positions to cut the most dangerous pass (often inside or forward)
- uses cover shadow to remove an option without sprinting
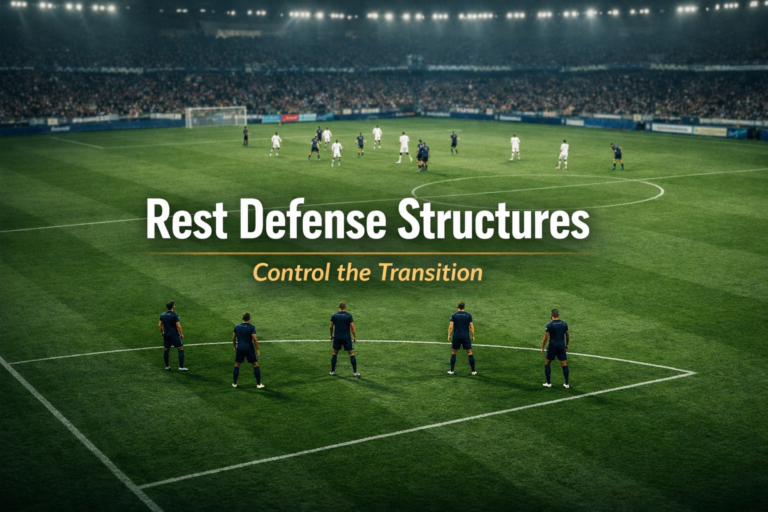
Rest defense behind the press (non-negotiable)
Your rest defense is the “net” behind counter-pressing:
- one player (often a pivot or center-back) protects the central lane
- the back line holds compact distances to defend a direct pass
- wide protection depends on your fullback positions and spacing
A clean way to think about it:
- front layer: win it now
- middle layer: stop the first escape pass
- back layer: protect depth and central space
If those layers exist, counter-pressing becomes controlled aggression instead of chaos.
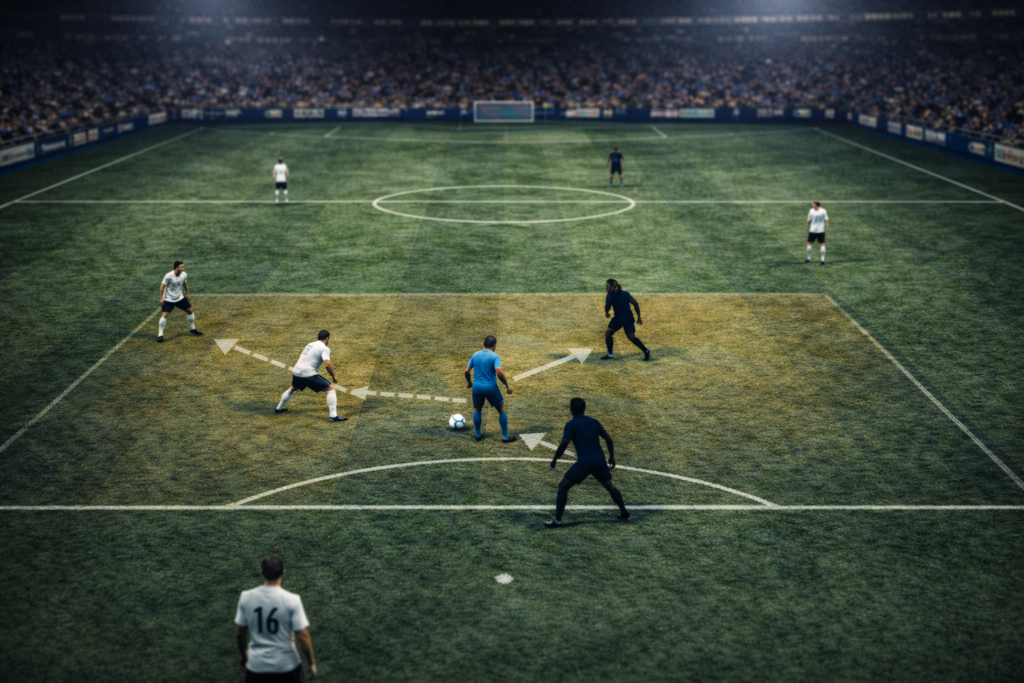
Beating the counter-press (and how to fix it)
Opponents try to escape counter-pressing by doing one thing: playing before the press arrives. That can be one-touch combinations, a third-man bounce, or a direct release.
Common escape methods
1) Third-man bounce
Ball winner lays it off to a teammate who plays forward first time—bypassing the nearest pressure.
Fix: your blocker must anticipate the bounce lane, not the ball.
2) One-touch wall pass
A quick give-and-go pulls the hunter out of the lane and opens a door.
Fix: second presser arrives on an angle that blocks the wall pass, not just the receiver.
3) Immediate switch
If your team collapses ball-side too hard, a diagonal outlet can flip the pitch.
Fix: rest defense must keep at least one player protecting the far-side lane or the central switch.
4) Direct release into the channel
A long pass avoids the press entirely.
Fix: your back layer must be compact, ready to win the second ball, and your midfield must be positioned to collect rebounds.
The biggest counter-pressing mistake
The biggest mistake isn’t intensity—it’s spacing. If your distances are too large, you arrive late. If your distances are too small with no cover, you get played through.
A practical target: when you attack, keep enough compactness that two supporting players can arrive immediately if possession is lost.
Training it: simple patterns and constraints
You don’t train counter-pressing by shouting “press!” You train it by repeating:
- quick reactions
- correct angles
- immediate lane protection
- clear recovery rules when it fails
Drill 1: Rondo with a counter-press rule (simple, effective)
- Setup: 5v2 or 6v3 in a tight grid
- Rule: if the outside team loses the ball, they have 3 seconds to win it back
- If they fail, they must retreat to a marked line and defend normally
Coaching points
- first presser forces one direction
- second presser arrives on the escape lane
- one player stays as blocker (don’t all chase)
Similar transition-based pressing exercises are commonly used in elite coaching environments and feature heavily in modern training frameworks published by UEFA Training Ground.
Drill 2: Transition box to mini-goals
- Two teams in a rectangle with mini-goals on the outside
- After winning the ball, the team has 5 seconds to score in a mini-goal
- Losing team counter-presses immediately to prevent the outlet
Coaching points
- nearest 2–3 players react instantly
- players farther away organize the back layer
- communicate “go” (press) vs “hold” (recover shape)
Drill 3: Small-sided game with “rest defense” constraints
- Add a rule that at least two players must remain behind the ball during attacks
- This forces realistic structure and prevents reckless counter-pressing
The goal of training is consistency: counter-pressing becomes your team’s default reaction—but always with an exit plan.
Quick-reference tables
Counter-pressing triggers and decisions
| Trigger | Best action | Key detail |
|---|---|---|
| Receiver facing own goal | Trap immediately | Force back/sideways |
| Heavy first touch | Collapse with 2–3 players | Arrive on angles |
| Congested zone turnover | Lock exits | Block central lane |
| Clear free outlet exists | Recover shape | Don’t get played through |
| Back layer stretched | Recover shape | Protect depth first |
Roles in the counter-press
| Role | Primary job | Common mistake |
|---|---|---|
| Hunter (1st presser) | Engage + force direction | Diving in, getting bypassed |
| Helper (2nd presser) | Close escape lane | Arriving straight, not angled |
| Blocker (lane control) | Remove dangerous pass | Chasing the ball instead |
| Back layer (rest defense) | Protect depth + second ball | Splitting too wide |
Final Thoughts
Counter-pressing is best understood as a method of regaining control during the most unstable phase of play. The moments immediately after possession loss offer a brief window where space is compressed, passing options are limited, and collective action can prevent transitions from forming.
Its effectiveness depends far more on structure and coordination than raw intensity. Well-spaced pressure, clear roles around the ball, and a secure rest defense determine whether counter-pressing becomes a repeatable advantage or a tactical risk. Without those foundations, pressing actions quickly lose their value.
Crucially, counter-pressing does not stand alone. It is shaped by how a team attacks, how it positions players behind the ball, and how it manages defensive height across phases. Seen in isolation, it looks aggressive; understood within a wider tactical system, it becomes a controlled and deliberate tool.
Enjoyed this breakdown?
Don’t Just Watch Football. Understand It.
Join KharaSportsDaily and receive occasional deep tactical insights most fans miss.
Occasional analysis. No match reports. No noise.
Frequently Asked Questions (FAQs)
What’s the difference between counter-pressing and high press?
A high press is a sustained defensive approach to win the ball high up the pitch. Counter-pressing is a short, immediate reaction after you lose possession, usually lasting only a few seconds before you either win it back or recover shape.
How long should a counter-press last?
Long enough to win the ball or force a predictable clearance—but not long enough to expose your back layer. If the opponent escapes cleanly, recover into your mid-block or compact defensive shape.
Does counter-pressing require extreme fitness?
It helps, but the biggest separator is structure: distances, angles, and lane control. Well-organized counter-pressing is often less about sprinting and more about arriving correctly.
What’s the biggest reason counter-pressing fails?
Poor spacing. If your nearest players are too far away, you arrive late. If everyone collapses without a blocker and back layer, you get played through.
How do you counter a team that counter-presses well?
Play before pressure arrives: one-touch exits, third-man bounces, and clear outlet positioning. If you can’t play out, go direct with a plan to win the second ball.
Part of the Football Tactics Framework
This article is part of KharaSportsDaily’s Football Tactics framework, where we break down how modern teams press, build attacks, and defend space across different phases of play.
Counter-pressing is one piece of a wider tactical system that includes build-up structures, defensive blocks, and transition control. To understand how these ideas connect, start with the complete Football Tactics Explained guide.
About the Author
Football Tactician & Analyst. breaking down elite systems for coaches and fans.

[…] Counter-Pressing Principals explained in our guide. […]
[…] The Xabi Alonso Leverkusen style is defined by a fluid 3-4-2-1 formation that relies on central overloads, short-passing “Relationism,” and aggressive counter-pressing. […]
[…] Counter-pressing begins immediately after attacking set-pieces […]
[…] As you can see, the box midfield tactics offer a robust 3+2 structure in “Rest Defense” (defense while attacking). This allows the team to press immediately upon losing the ball, a concept we cover in Counter-Pressing Explained. […]
[…] Immediate Counter-Pressing: By positioning players close to the ball carrier, you can press instantly upon a turnover. (We discussed this in our deep dive on Counter-Pressing Explained). […]
[…] Defensive Implications: Positionism creates a natural “Rest Defense” structure; Relationism risks massive transitions if the immediate counter-press fails. […]